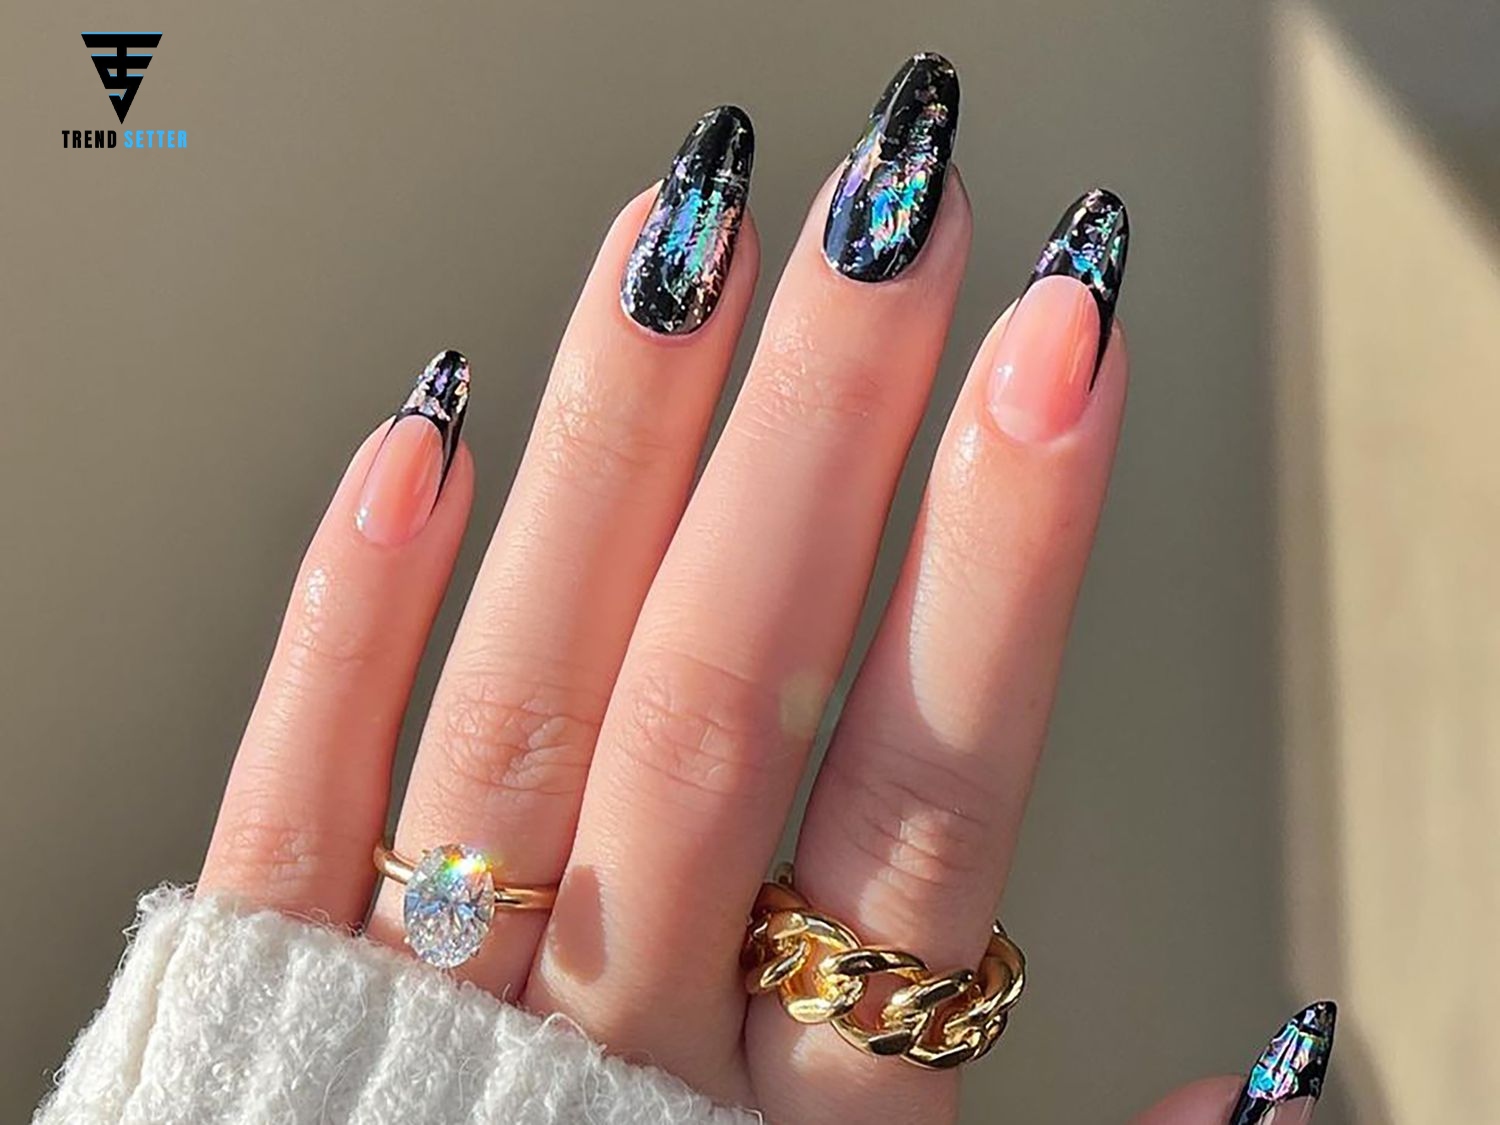
Are you looking to create beautiful nail art without spending hours at the salon? With just a few tools and creativity, you can achieve professional-looking nails at home! No matter if you are an amateur artist or simply searching for simple yet trendy DIY nail art designs – this guide can help.
Essential Tools for DIY Nail Art
Before getting creative with designs, be sure to acquire these essential nail art tools:
- Base Coat & Top Coat – For a smooth finish and long-lasting nails.
- Nail Polish (Various Colors) – Choose your favorite shades
- Dotting Tool or Toothpick – For creating dots and patterns.
- Thin Nail Brush or Striping Tape – For clean lines and stripes.
- Sponge – For ombré or gradient effects.
- Q-Tips & Nail Polish Remover – For easy clean-up.
Easy DIY Nail Art Ideas for Beginners
Polka Dot Nails
- What You Need: Two nail polish colors & a dotting tool (or bobby pin).
- How to Do It:
- Apply a base color and let it dry.
- Dip a dotting tool into another color and create small dots.
- Seal with a top coat.
- Try pastel dots for a soft, cute look!
French Tips with a Twist
- What You Need: White polish & striping tape.& a dotting tool (or bobby pin).
- How to Do It:
- Apply a nude or clear base coat.
- Use tape to create a thin tip and paint it white (or any color).
- Remove the tape and apply a top coat.
- Go for pastel or glittery tips for a fun twist!
Ombré Gradient Nails
- What You Need:
- How to Do It:
- Apply a light base color and let it dry
- Dab two colors onto a sponge and gently press onto nails.
- Repeat for a deeper gradient effect and apply a top coat.
- Try sunset-inspired ombré with pink & orange!
Negative Space Nail Art
- What You Need: Tape or a thin nail brush.
- How to Do It:
- Use tape to block off areas, then paint over with your chosen color.
- Use tape to block off areas, then paint over with your chosen color.
- Remove the tape and apply a top coat.
- Remove the tape and apply a top coat.
Marble Effect Nails
- What You Need: White polish, a plastic wrap, & gray/black polish..
- How to Do It:
- Apply a white base coat and let it dry.
- Dab gray polish onto a crumpled plastic wrap and press lightly onto nails.
- Repeat with black polish for a marbled look.
- Finish with a top coat.
- This gives a classy, salon-like marble effect at home!
Tips for Long-Lasting Nail Art
- Use a Base & Top Coat – Prevents chipping and enhances shine.
- Let Each Layer Dry Completely – Helps avoid smudging.
- Apply Thin Coats – Thick layers take longer to dry and may peel.
- Keep Your Nails Hydrated – Use cuticle oil for healthy nails.
Final Thoughts
DIY nail art doesn’t need to be challenging! With some basic techniques and practice, you can craft professional-quality designs at home using DIY techniques – be it polka dots, ombre nails or marble effects! These beginner-friendly ideas will have you adorning beautiful nails effortlessly


